How to Waterproof a Tent Floor: The Ultimate Guide
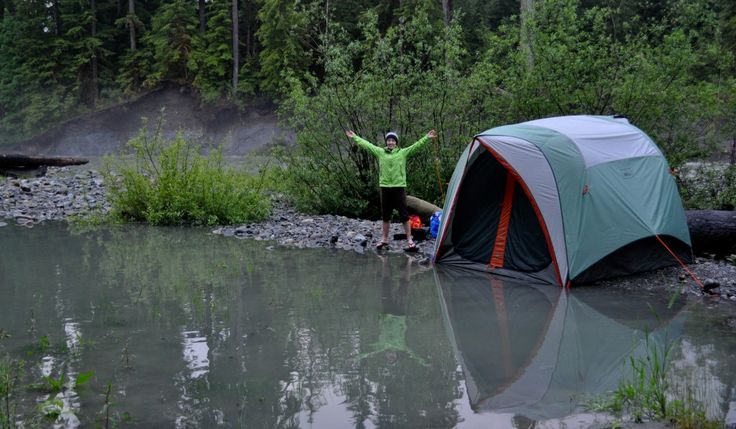
When it comes to camping, one of the worst things that can happen is a leaking tent floor. Imagine waking up in the middle of the night with water seeping into your sleeping bag. It’s not only uncomfortable but can also ruin your entire camping experience. That’s why knowing how to waterproof a tent floor is crucial for every outdoor enthusiast.
In this comprehensive guide, we will walk you through the step-by-step process of waterproofing your tent floor. From sealing the seams to applying a waterproof coating, we’ve got you covered. So, let’s dive in and ensure your next camping trip stays dry and enjoyable!
Why Waterproofing a Tent Floor is Essential
Many people assume that their tent will protect them from all weather conditions, including rain. However, even tents that claim to be waterproof can develop leaks over time. By waterproofing your tent floor, you can prevent water from seeping in and keep yourself and your gear dry. This is particularly important to avoid discomfort, hypothermia, and potential health risks associated with sleeping in a wet tent.
Step 1: Seal the Tent Seams Using a Seam Sealer
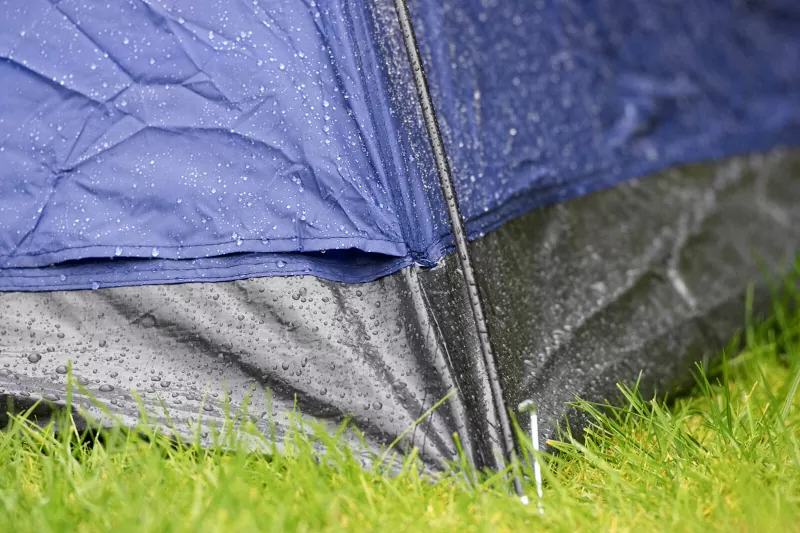
The first step in waterproofing your tent floor is to seal the seams using a seam sealer. Seams are the areas where the tent fabric is stitched together, and they can be potential leak areas during heavy rain or dew.
- Set up your tent in a well-lit area, either outdoors or indoors.
- Turn the rainfly inside out to expose the seams.
- Remove any loose or damaged tape from the seams.
- Clean the seams with a cloth and rubbing alcohol to ensure proper adhesion.
- Apply the seam sealer along the seams, extending it about a quarter-inch past the seam on both sides.
- Allow the seam sealer to dry according to the manufacturer’s instructions.
- Test the tent for leaks by spraying water on the seams and checking for any signs of water penetration.
Sealing the seams is a crucial step in preventing water from entering your tent through the stitching.
Step 2: Reapply the Urethane Coating to the Floor
Over time, the urethane coating on your tent floor can degrade, leading to flaking and potential leaks. Reapplying the urethane coating is essential to restore its waterproof properties.
To reapply the urethane coating:
- Lay your tent floor on a flat surface.
- Gently remove any flaking or damaged coating using a rag and rubbing alcohol.
- Apply the new urethane sealant according to the product instructions, ensuring even coverage.
- Allow the coating to dry for at least 24 hours before using the tent.
By reapplying the urethane coating, you can enhance the waterproofing capabilities of your tent floor and prolong its lifespan.
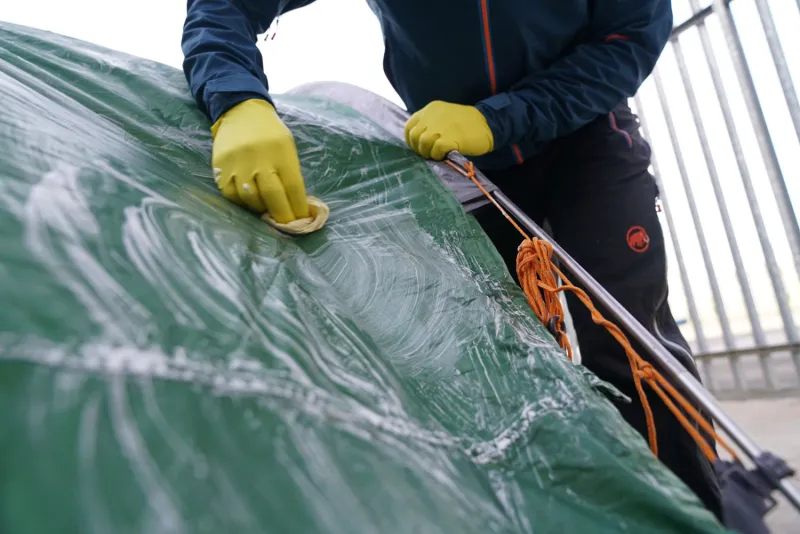
Step 3: Use a Tent Waterproofing Spray on the Outside
In addition to sealing the seams and reapplying the urethane coating, using a tent waterproofing spray can provide an extra layer of protection against water infiltration. Waterproofing sprays are chemical applications that make the tent surface water-resistant, preventing moisture accumulation and ensuring a dry camping experience.
To use a tent waterproofing spray:
- Ensure that the tent surface is clean and dry before application.
- Shake the waterproofing spray canister well.
- Spray the waterproofing spray evenly across the outside of the tent, focusing on the floor area.
- Allow the spray to dry completely before packing up the tent.
Waterproofing sprays are lightweight and easy to use, making them an effective solution for maintaining a dry tent.
Step 4: Use a Tent Footprint or Groundsheet
A tent footprint or groundsheet is a protective layer that goes underneath your tent to prevent abrasion, tears, and moisture from soaking through the tent floor. While not always necessary, using a tent footprint can significantly enhance the durability and waterproofing of your tent.
The benefits of using a tent footprint include:
- Protecting the tent floor from damage caused by rocks, sticks, or rough terrain.
- Keeping the bottom of the tent floor clean and free from debris.
- Preventing moisture from seeping through the tent floor, especially in wet or damp conditions.
- Easier cleaning and maintenance of the tent floor.
When selecting a tent footprint, ensure that it matches the dimensions of your tent and extends slightly beyond the tent floor to provide adequate protection.
Step 5: Use a Rainfly or Tarp for Additional Protection
Attaching a rainfly or tarp above your tent can provide an extra layer of protection against rain, falling debris, and other elements. A rainfly is often included with tents, while a tarp can be used as a cost-effective alternative.
- Create a ridgeline between two points, such as trees or poles, above your tent.
- Attach one corner of the rainfly or tarp to the ridgeline and secure the opposite corner to the ground with stakes.
- Adjust the tension of the rainfly or tarp to ensure proper coverage and prevent pooling of water.
Using a rainfly or tarp not only adds an extra barrier against rain but also helps to reduce condensation inside the tent, providing a more comfortable camping experience.
Additional Tips to Keep Your Tent Dry

In addition to wondering How to Waterproof a Tent Floor, there are several tips you can follow to ensure a dry camping experience:
- Choose a campsite on higher ground to prevent water accumulation around the tent.
- Use a ground cloth or tarp underneath your tent to protect it from wear and tear and provide an extra barrier against moisture.
- Properly ventilate your tent to allow for airflow and reduce condensation.
- Pack your tent dry and avoid storing it when it’s wet to prevent mildew and damage.
- Always have rain gear on hand in case of unexpected weather conditions.
By following these additional tips, you can further enhance the waterproofing of your tent and enjoy a dry and comfortable camping trip.
Last Thoughts
Camping is a fantastic way to connect with nature and create lasting memories. However, a leaking tent floor can quickly turn a camping trip into a soggy and uncomfortable experience. By following the steps outlined in this guide, you can effectively waterproof your tent floor and keep yourself and your gear dry. Remember to seal the seams, reapply the urethane coating, use a waterproofing spray, consider a tent footprint, and use a rainfly or tarp for additional protection.
So, the next time you’re wondering how to waterproof a tent floor, refer back to this guide and enjoy a dry and hassle-free camping experience!

Meet Sarah, a passionate traveler and camping enthusiast who loves to explore the great outdoors. With years of exploring, she has become an expert in testing and reviewing the best tents on the market which got her to start mytravelingtents.com. Her insightful reviews provide valuable information to fellow adventurers looking for the perfect tent for their next camping trip.