How to Clean Camping Water Containers: A Comprehensive Guide
Are you planning your next camping adventure? Access to clean and safe drinking water is essential for any outdoor excursion. Your camping water containers play a vital role in storing and transporting water during your trip. So, you need to know how to clean camping water containers before you embark on your journey.
In this article, we will provide you with a step-by-step guide on effectively cleaning your camping water containers. Whether you use water bottles, hydration bladders, jerry cans, or any other water storage system, these cleaning methods and tips will help you maintain hygiene and keep your water containers in optimal condition. So, let’s dive in and discover the best practices for keeping your camping water containers clean and safe.
How to Clean Camping Water Containers: Importance and Methods
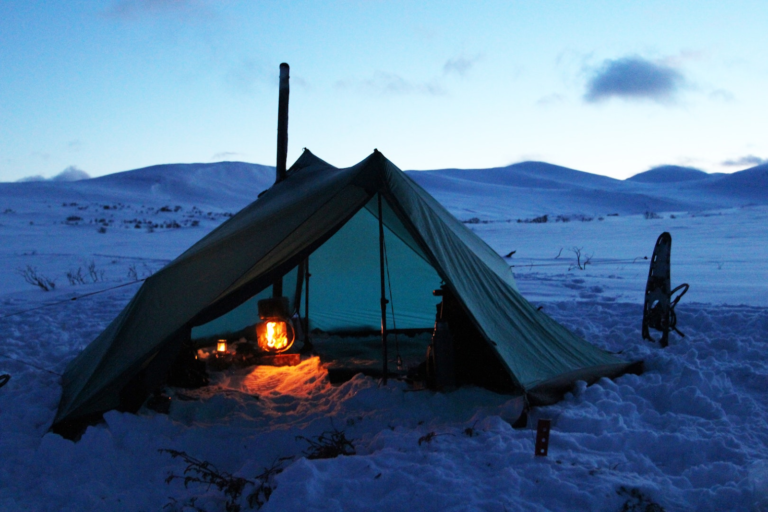
Clean water containers are crucial for your camping trips. Bacteria, algae, and mold can grow inside the containers over time, leading to potential health risks. Regularly cleaning and sanitizing your water containers ensures that the water you consume during your outdoor adventures is safe and free from contaminants. Dirty containers can also develop unpleasant odors and affect the taste of your water. Maintaining clean water containers protects your health and enhances your camping experience.
How to Clean Camping Water Containers: Materials and Tools You’ll Need
Before you begin the cleaning process, gather the necessary materials and tools. You will need the following:
- Dish soap or mild detergent
- Warm water
- Bottlebrush or pipe cleaners
- Sponge or cleaning cloth
- White vinegar or bleach (for disinfection)
- Baking soda (for removing stubborn odors)
- Toothbrush (for scrubbing smaller parts)
These items will ensure you have everything you need to effectively clean camping water containers.
Cleaning Method for Water Bottles
Water bottles are a common choice for carrying water during camping trips. Follow these steps to clean your water bottles:
1. Empty the bottle and rinse it with warm water to remove residual liquids.
2. Create a mixture of warm water and a few drops of dish soap or mild detergent.
3. Use a bottle brush or pipe cleaners to scrub the inside of the bottle, paying particular attention to the bottom and crevices.
4. Rinse the bottle thoroughly with clean water to remove any soap residue.
5. If there are persistent odors, mix a solution of water and baking soda, and let it sit in the bottle for a few hours before rinsing it out.
6. Air-dry the bottle entirely before storing it.
Repeating this process will help keep your water bottles clean and ready for your next adventure.
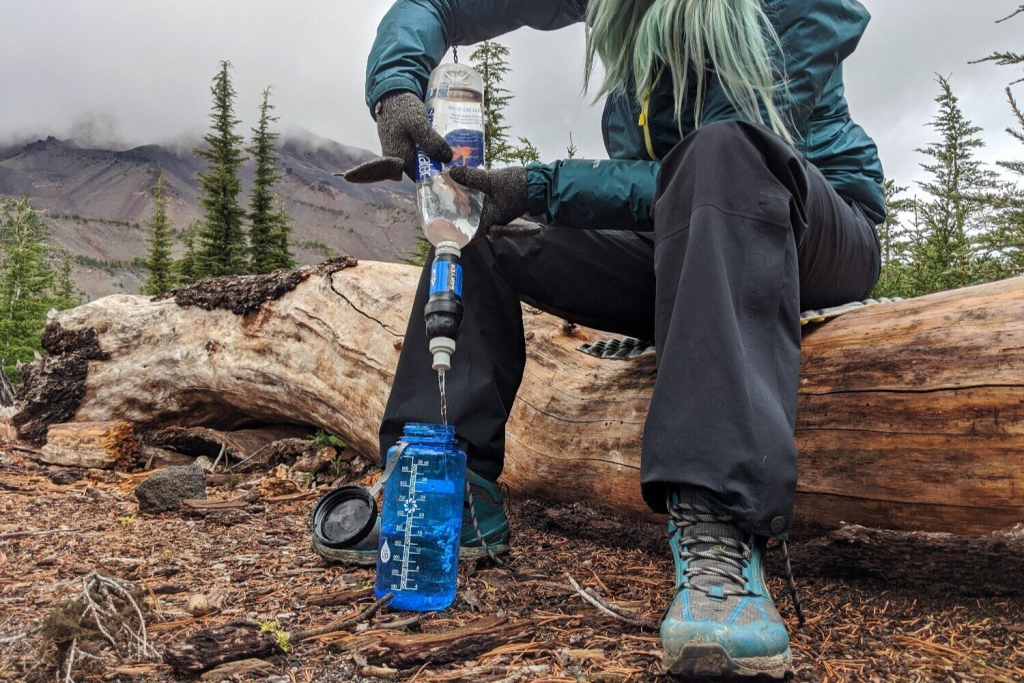
Cleaning Method for Hydration Bladders
Hydration bladders offer convenience and hands-free hydration while on the move. Here’s how to clean them:
1. Start by emptying the bladder and disconnecting the hose.
2. Prepare a mixture of warm water and dish soap or mild detergent.
3. Use a cleaning brush or pipe cleaners to scrub the interior of the bladder, focusing on hard-to-reach areas.
4. Rinse the bladder thoroughly with clean water, ensuring no soap residue remains.
5. To disinfect the bladder, fill it with a water solution and a tablespoon of white vinegar or bleach. Let it sit for about 30 minutes, then rinse it thoroughly.
6. Hang the bladder upside down to dry, allowing any remaining moisture to evaporate.
Proper cleaning and drying of hydration bladders will help prevent the growth of bacteria and keep your drinking water fresh and safe.
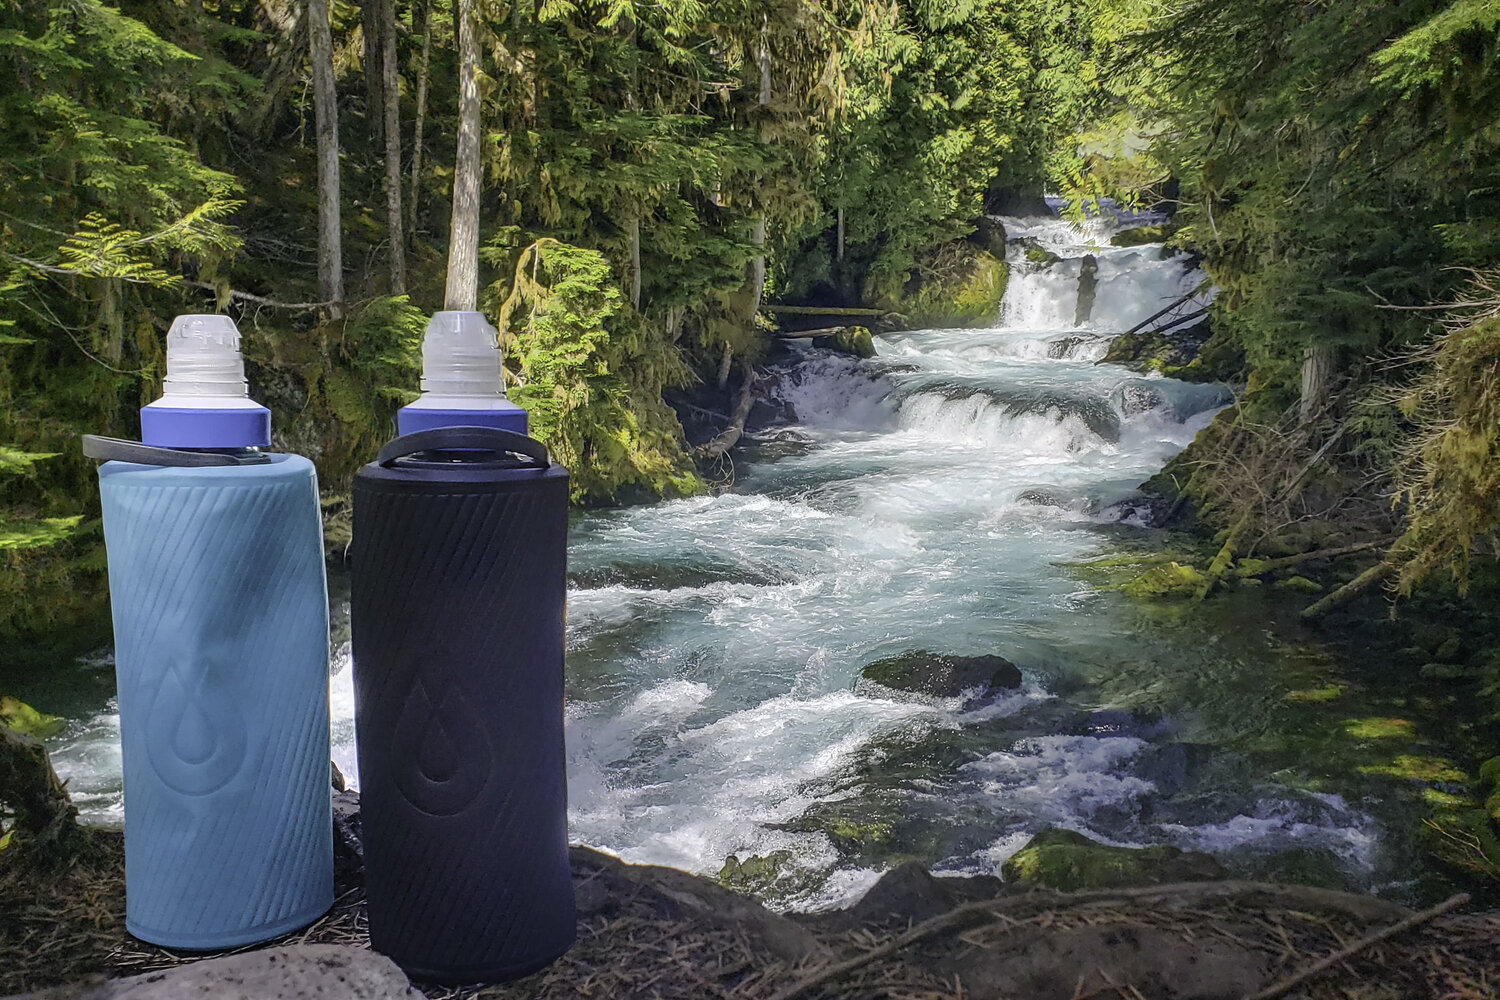
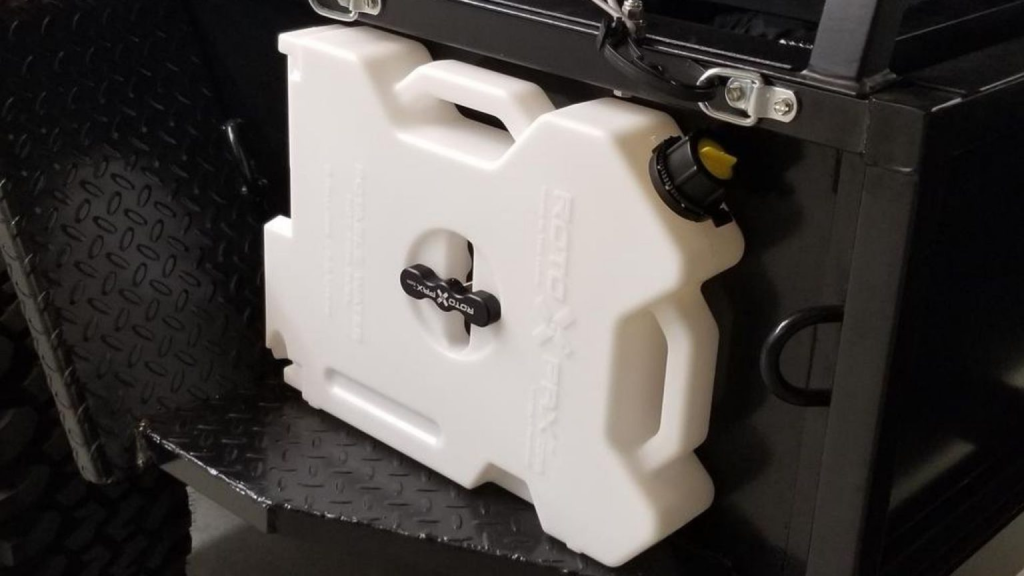
Cleaning Method for Jerry Cans and Water Storage Systems
If you rely on jerry cans or other larger water storage systems for camping, follow these steps to keep them clean:
1. Empty the container thoroughly and rinse it with warm water.
2. Mix warm water and dish soap or mild detergent.
3. Use a sponge or cleaning cloth to wash the interior and exterior surfaces of the container.
4. Pay special attention to the cap or spout, as these areas can accumulate dirt and debris.
5. Rinse the container thoroughly with clean water, removing all soap residue.
6. To disinfect the container, fill it with a water solution and a tablespoon of bleach per gallon. Let it sit for a few minutes, then rinse it thoroughly.
7. Allow the container to air-dry completely before storing it.
Regular cleaning and disinfection of jerry cans and water storage systems will ensure your water remains safe and uncontaminated during your camping trips.
How to Clean Camping Water Containers: Maintenance Tips
Cleaning camping water containers is only the first step. Ongoing maintenance is essential for long-term cleanliness. Here are some tips to help you maintain clean water containers:
1. Rinse containers immediately after use to prevent the formation of stubborn residue.
2. Air-dry containers thoroughly before storing them to prevent mold growth.
3. Store containers in a cool, dry place away from direct sunlight.
4. Avoid using abrasive cleaners or brushes that could damage the container’s surface.
5. Inspect containers regularly for any signs of damage or wear and replace them if necessary.
6. Replace water filters and purifier cartridges according to the manufacturer’s instructions.
Following these maintenance tips ensures that your camping water containers remain clean, odor-free, and safe for all outdoor adventures.
Conclusion
Clean water is vital for any camping trip, and adequately cleaning your camping water containers is essential to ensure the safety and quality of the water you consume. Regularly clean and disinfect your water bottles, hydration bladders, jerry cans, and other water storage systems using the methods outlined in this article. Remember to follow the maintenance tips to keep your water containers in optimal condition.
With clean and safe drinking water at your disposal, you can fully enjoy the beauty of nature during your camping adventures. Stay hydrated, stay healthy, and enjoy exploring the great outdoors!