How to Make Your Own Camping Tent
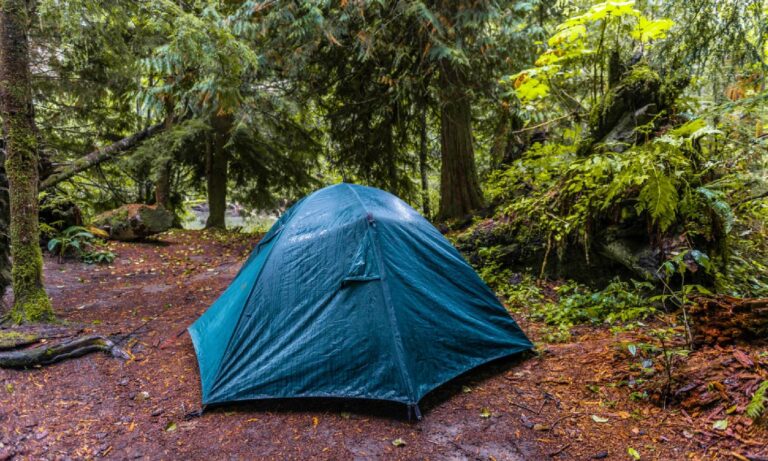
When thinking about camping, tents always come to mind. They are like your temporary home while you are out in nature camping. But as is with nature, you never know what might happen at any time. You might find yourself without shelter after a thunderstorm. In that case, knowing how to make your camping tent can be a valuable skill. You can make use of these skills aside from extreme situations such as when you have forgotten your tent at home, or just simply want to save some money. if you are interested in knowing how to make your own tent, read ahead to know more.
Table of Contents
Basic Materials You Will Need
1. Tarp or Other Waterproof Material
A tarp is an inexpensive material that is easy to come by and will give you a sufficient amount of privacy and protection especially during rain. You will essentially need two sheets of tarp or other preferably waterproof material to make a tent. One sheet will be used for the body as in the walls and the ceilings, while the other sheet will be used for the bottom or the tent footprint.
The size of the tarp is important to keep in mind, to determine how big your tent is going to be. The smallest bottom you should go for is 8 foot x 8 foot, while the top needs to be the same size or larger.
2. Rope or Cord

You will need a strong rope or paracord to help secure the tent in place. They are the easier option, and quite affordable as well.
3. Tent Poles
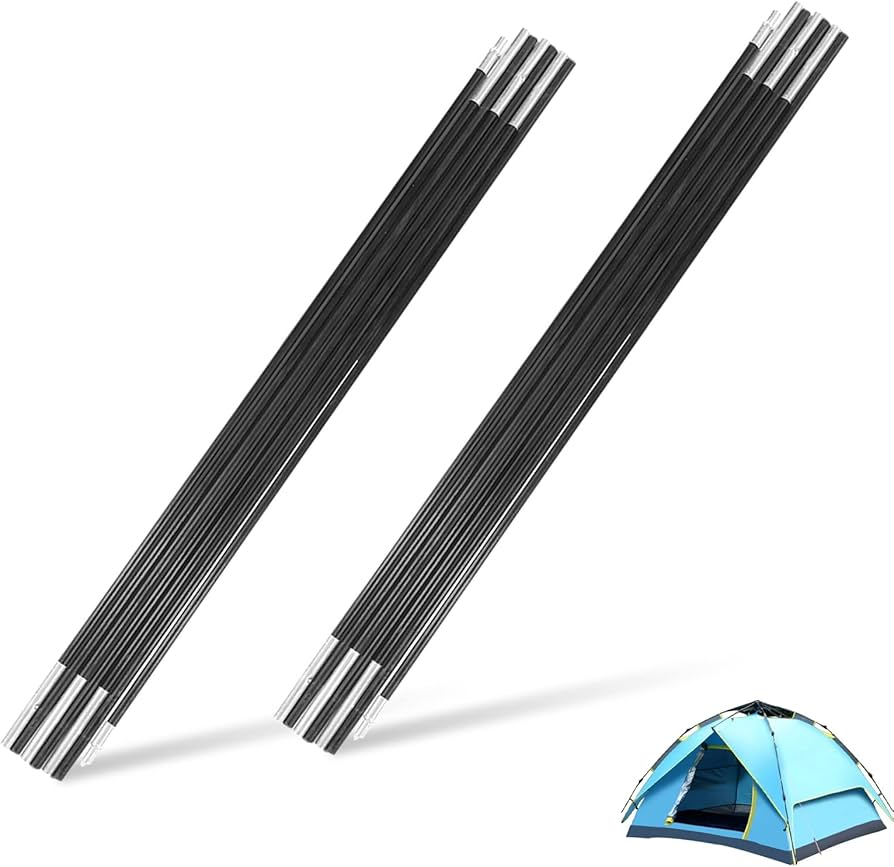
Tent poles are used to hold the tarp on top. So basically, the poles make up the frame of the tent. You will need at least 3 tent poles to make it work. Actual tent poles can be used, but if you do not have any at hand, long sticks will be just fine.
4. Tent Stakes
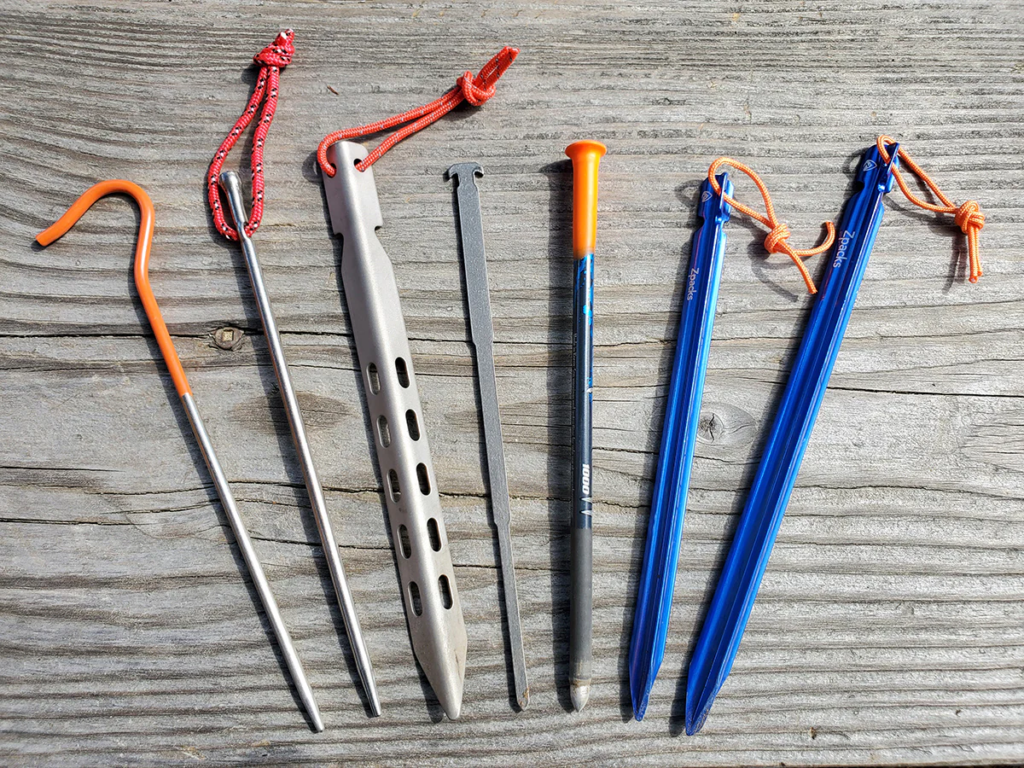
You can either choose to use rope or tent stakes. You can easily build a tent without any stakes, but it is highly recommended if you are going to be camping during rainy or windy weather.
Next steps to build your own camping tent
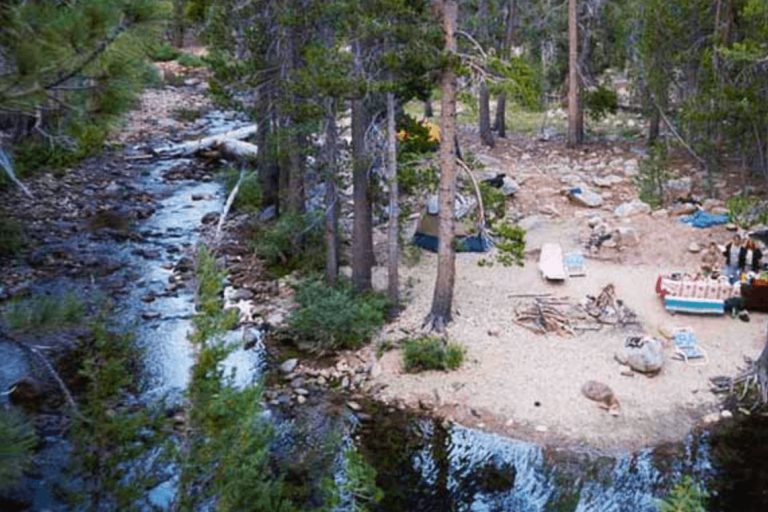
1. Choose a Spot

After you have gathered all the basic materials you will need to build your tent, the next step is choosing the right spot. You should be looking for a plain level ground, and avoid an area in lower elevation compared to its surroundings. Otherwise, you will be risking being trapped in a flood in case it rains. Clear the area off of large rocks, peddles, and twigs to ensure that the surface is relatively smooth. Also, you should consider choosing a spot that has enough space to not only set your tent up but build a fire as well.
2. Secure the Tarp or FootPrint
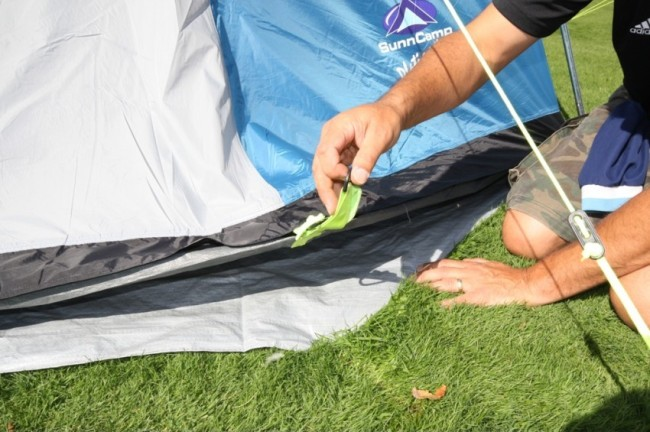
Next, you need to spread out your tarp just like a footprint. This will be the bottom of your tent. Make sure to smooth out wrinkles and fold to avoid water pooling in. Once you have that done, you need to secure the tarp in place with the help of a tent stake. Use a rock or any heavy object to hammer the stake into the ground. Repeat this process for all the corners of your tarp. Keep in mind not to hammer the stake too deep into the ground just yet as you will need to redo them when you are constructing the walls.
If you do not have a tent stake, or your tarp lacks holes for the stakes then just use heavy rocks on each corner to prevent the footprint from shifting.
3. Constructing the Walls
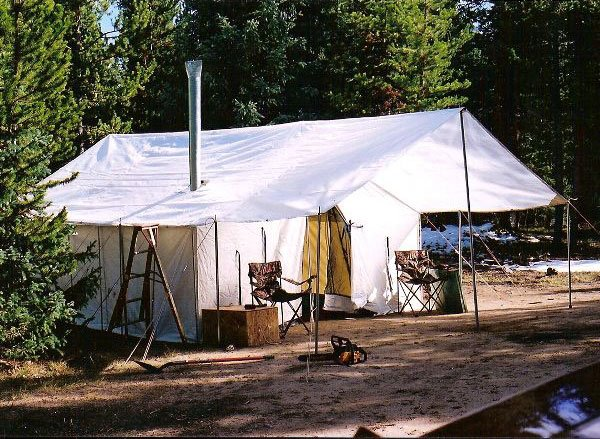
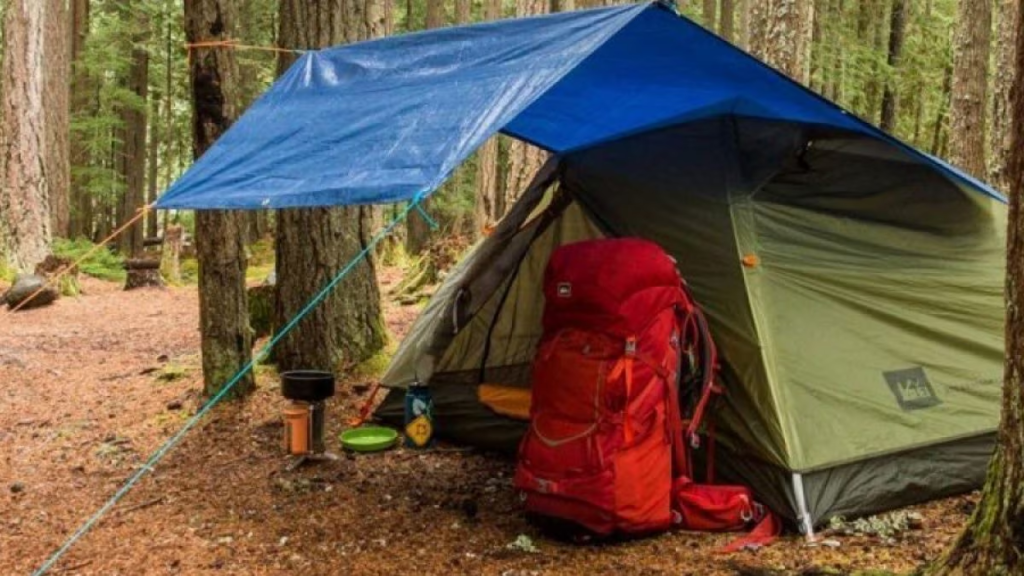
You can use the rope method to construct the walls. It is a super easy and affordable option. All you need to do is tie your rope tightly between two trees and wrap the cord a couple of times for extra security. If you do not have another tree to work with, then use any extra stake if you have them or make a wooden stake. This is where you will decide on the height of your tent. We advise you to aim for a height at the same level as your chest. Now all you need to do is hang the second trap over the rope. Spread the trap out evenly so that it reaches the ground and over the footprint. If the tarp does not reach the ground at all, then know that you have hung the rope too high and you need to repeat this step.
If you do not have any rope or cord on you, you will need to opt for the pole method. It is slightly more difficult, but rest assured there is nothing to worry about. Place the top tarp over the footprint and secure it with a tent stake. It should look like you have two tarps on over one another. Hold the top tarp up and take a pole in between the two to stand it up. Repeat the process on the other side.
4. Securing the Walls
If you choose to use the rope method, you will need to secure the walls to the ground. Remove one stake and line up the holes in the two tarps before hammering the stake down using a rock. This time you can hammer it deep into the ground to ensure the tarp stays in place. Repeat this process for all of the corners, and you should have yourself a tent.
We highly recommend that you follow this step although it is not entirely necessary. Build embankments or walls to keep water away. You can use anything that is around you to build a wall such as sticks, dirt, rocks, and more. If you are on a slope dig small trenches on each side to help water flow.
Here is additional information, if you want help to set up a camping tent
Conclusion
Now that you know how to make your own camping tent, you will be surprised to find how easy it gets with practice. Remember to clear out enough space around you and to secure everything tightly. If you need more information on how to make your own camping tent, check this video out

Meet Sarah, a passionate traveler and camping enthusiast who loves to explore the great outdoors. With years of exploring, she has become an expert in testing and reviewing the best tents on the market which got her to start mytravelingtents.com. Her insightful reviews provide valuable information to fellow adventurers looking for the perfect tent for their next camping trip.