How to Setup Coleman Sundome 4-Person Tent – The Complete Guide
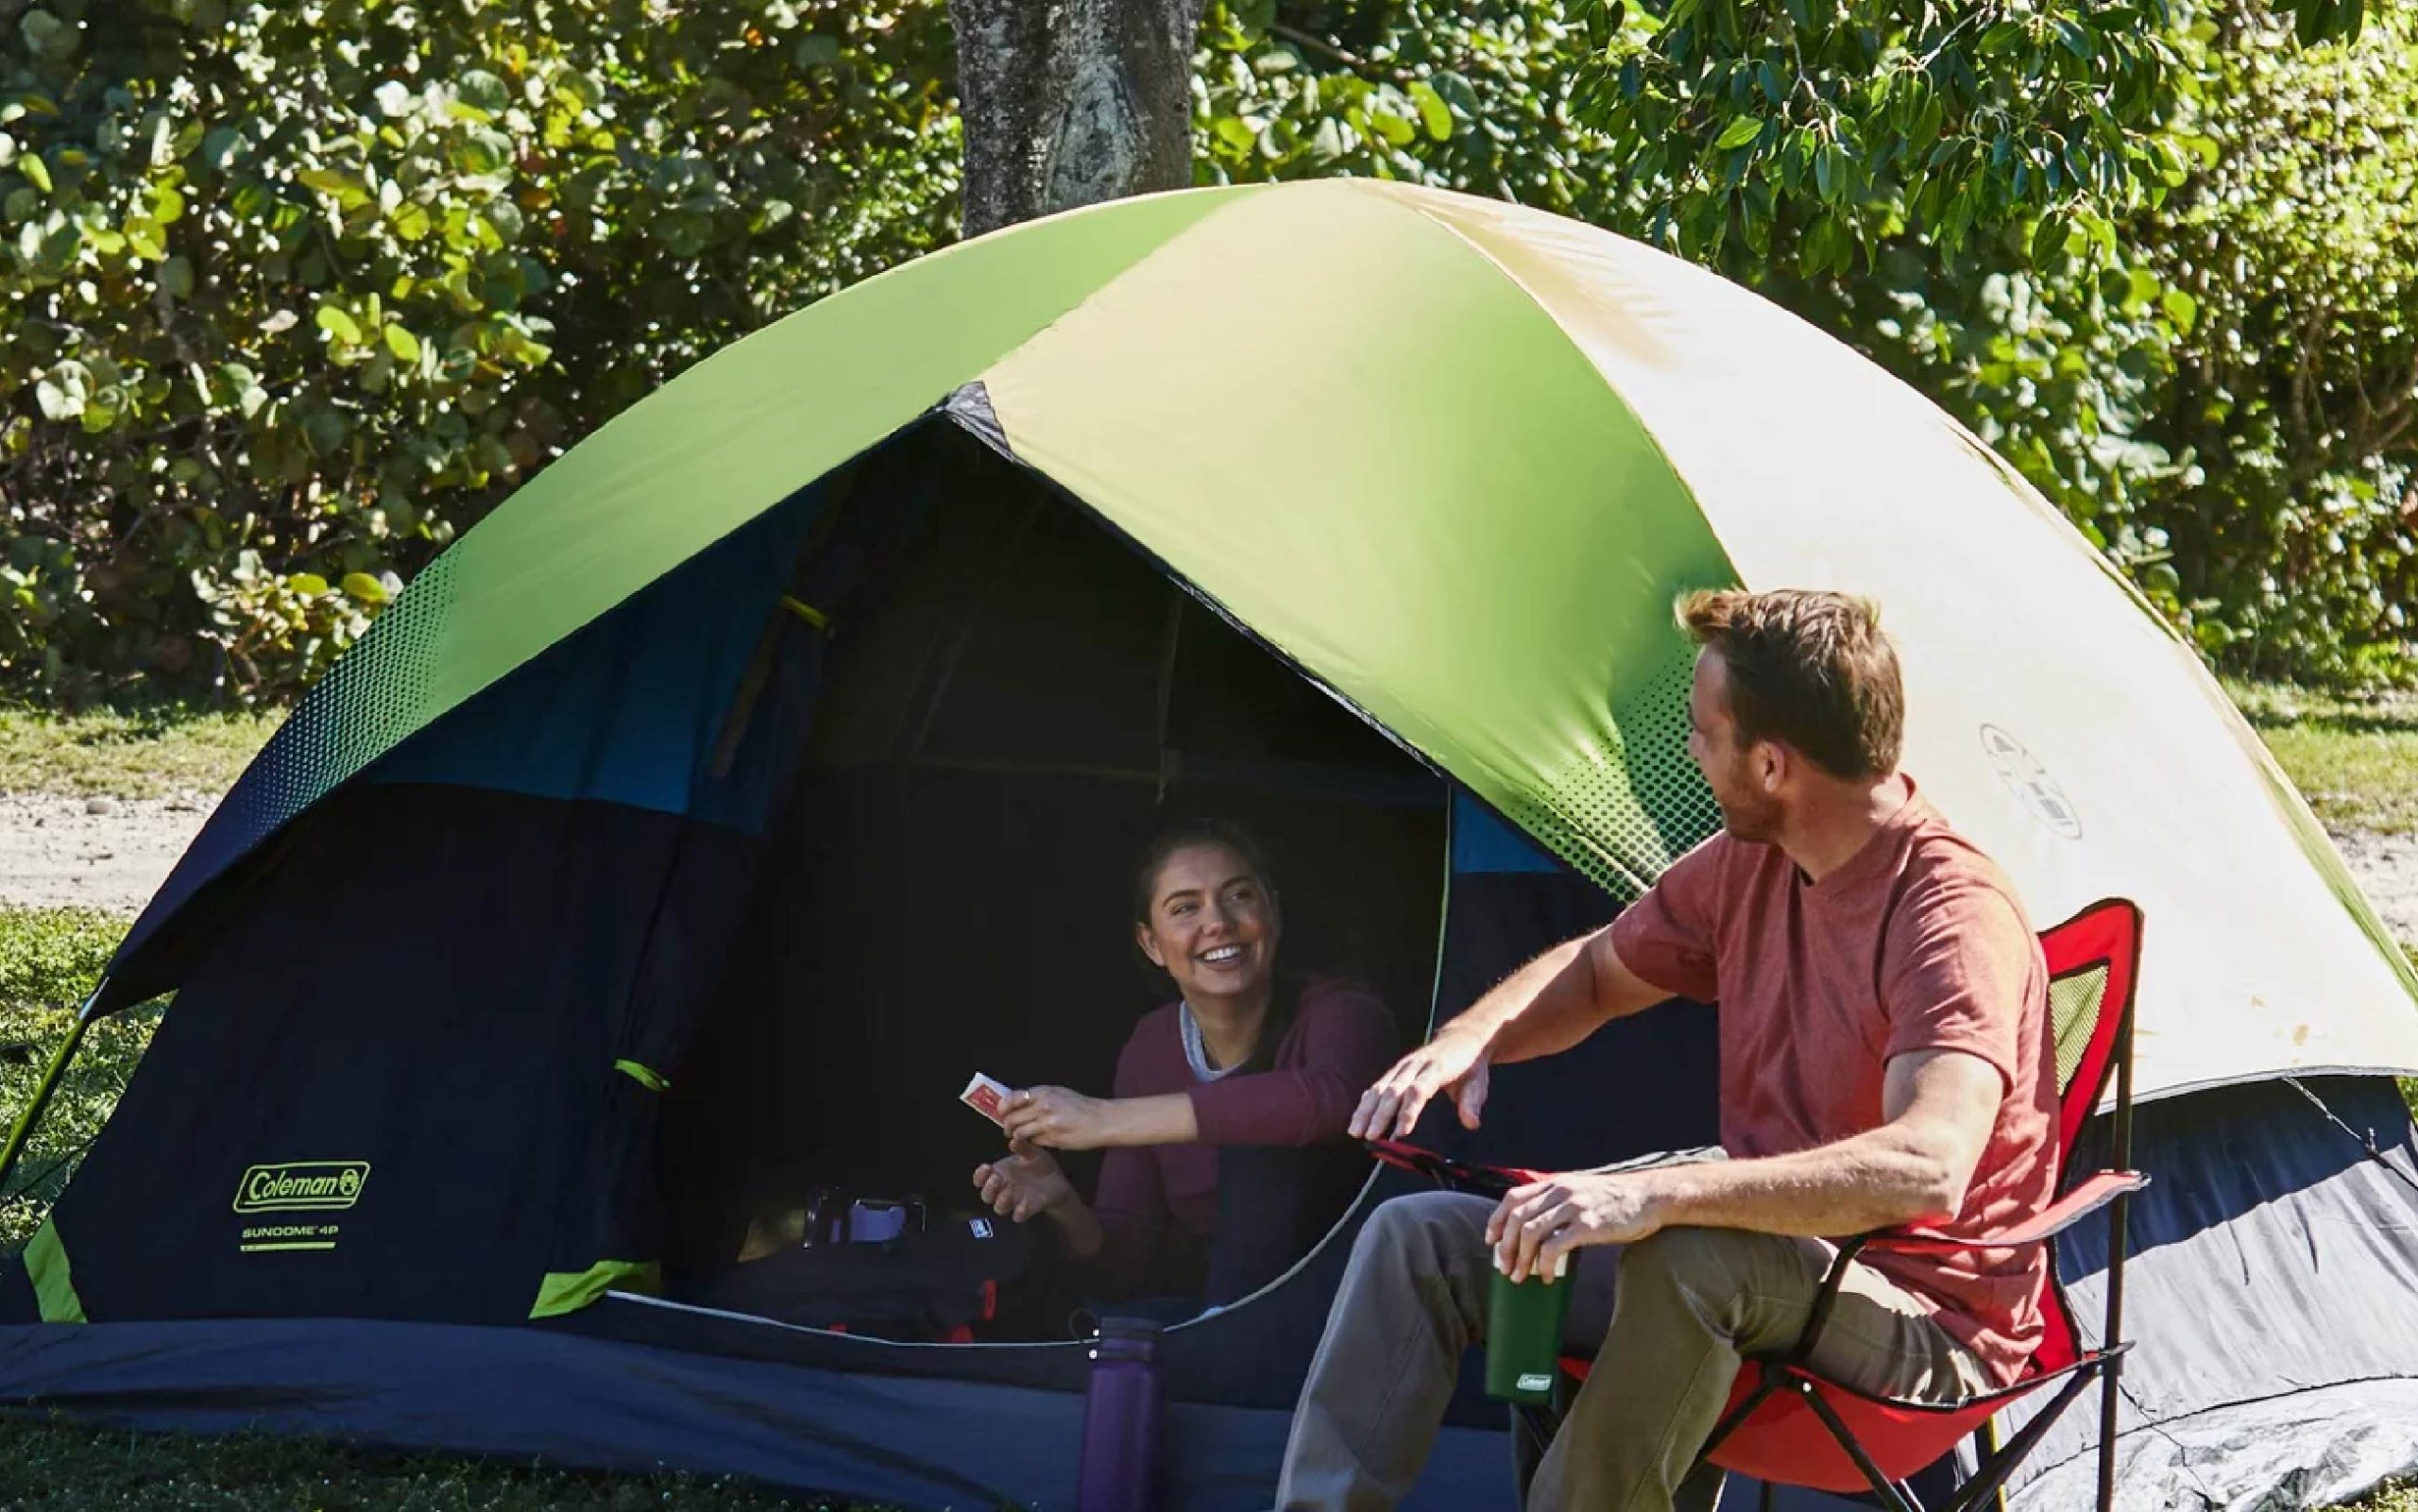
Get ready for your next camping adventure with the Coleman Sundome 4-person tent. This popular and well-regarded tent is perfect for outdoor enthusiasts who want to enjoy the great outdoors in comfort. With large windows and a ground vent, you’ll stay cool and comfortable even on the hottest days. And if rain is in the forecast, don’t worry! The included rainfly, welded corners, and inverted seams will keep you dry and cozy all night long.
With its spacious interior, you’ll have plenty of room for sleeping bags, gear, and even a small table or chairs. And when it’s time to pack up and head home, the tent easily fits into its included carry bag for convenient storage and transport.
Table of Contents
Setting Up the Coleman Sundome 4-Person Tent
Setting up your Coleman Sundome 4-person tent is a breeze! Follow our step-by-step guide to easily assemble the poles and secure the rain fly.
Step 1: Choose a Spot
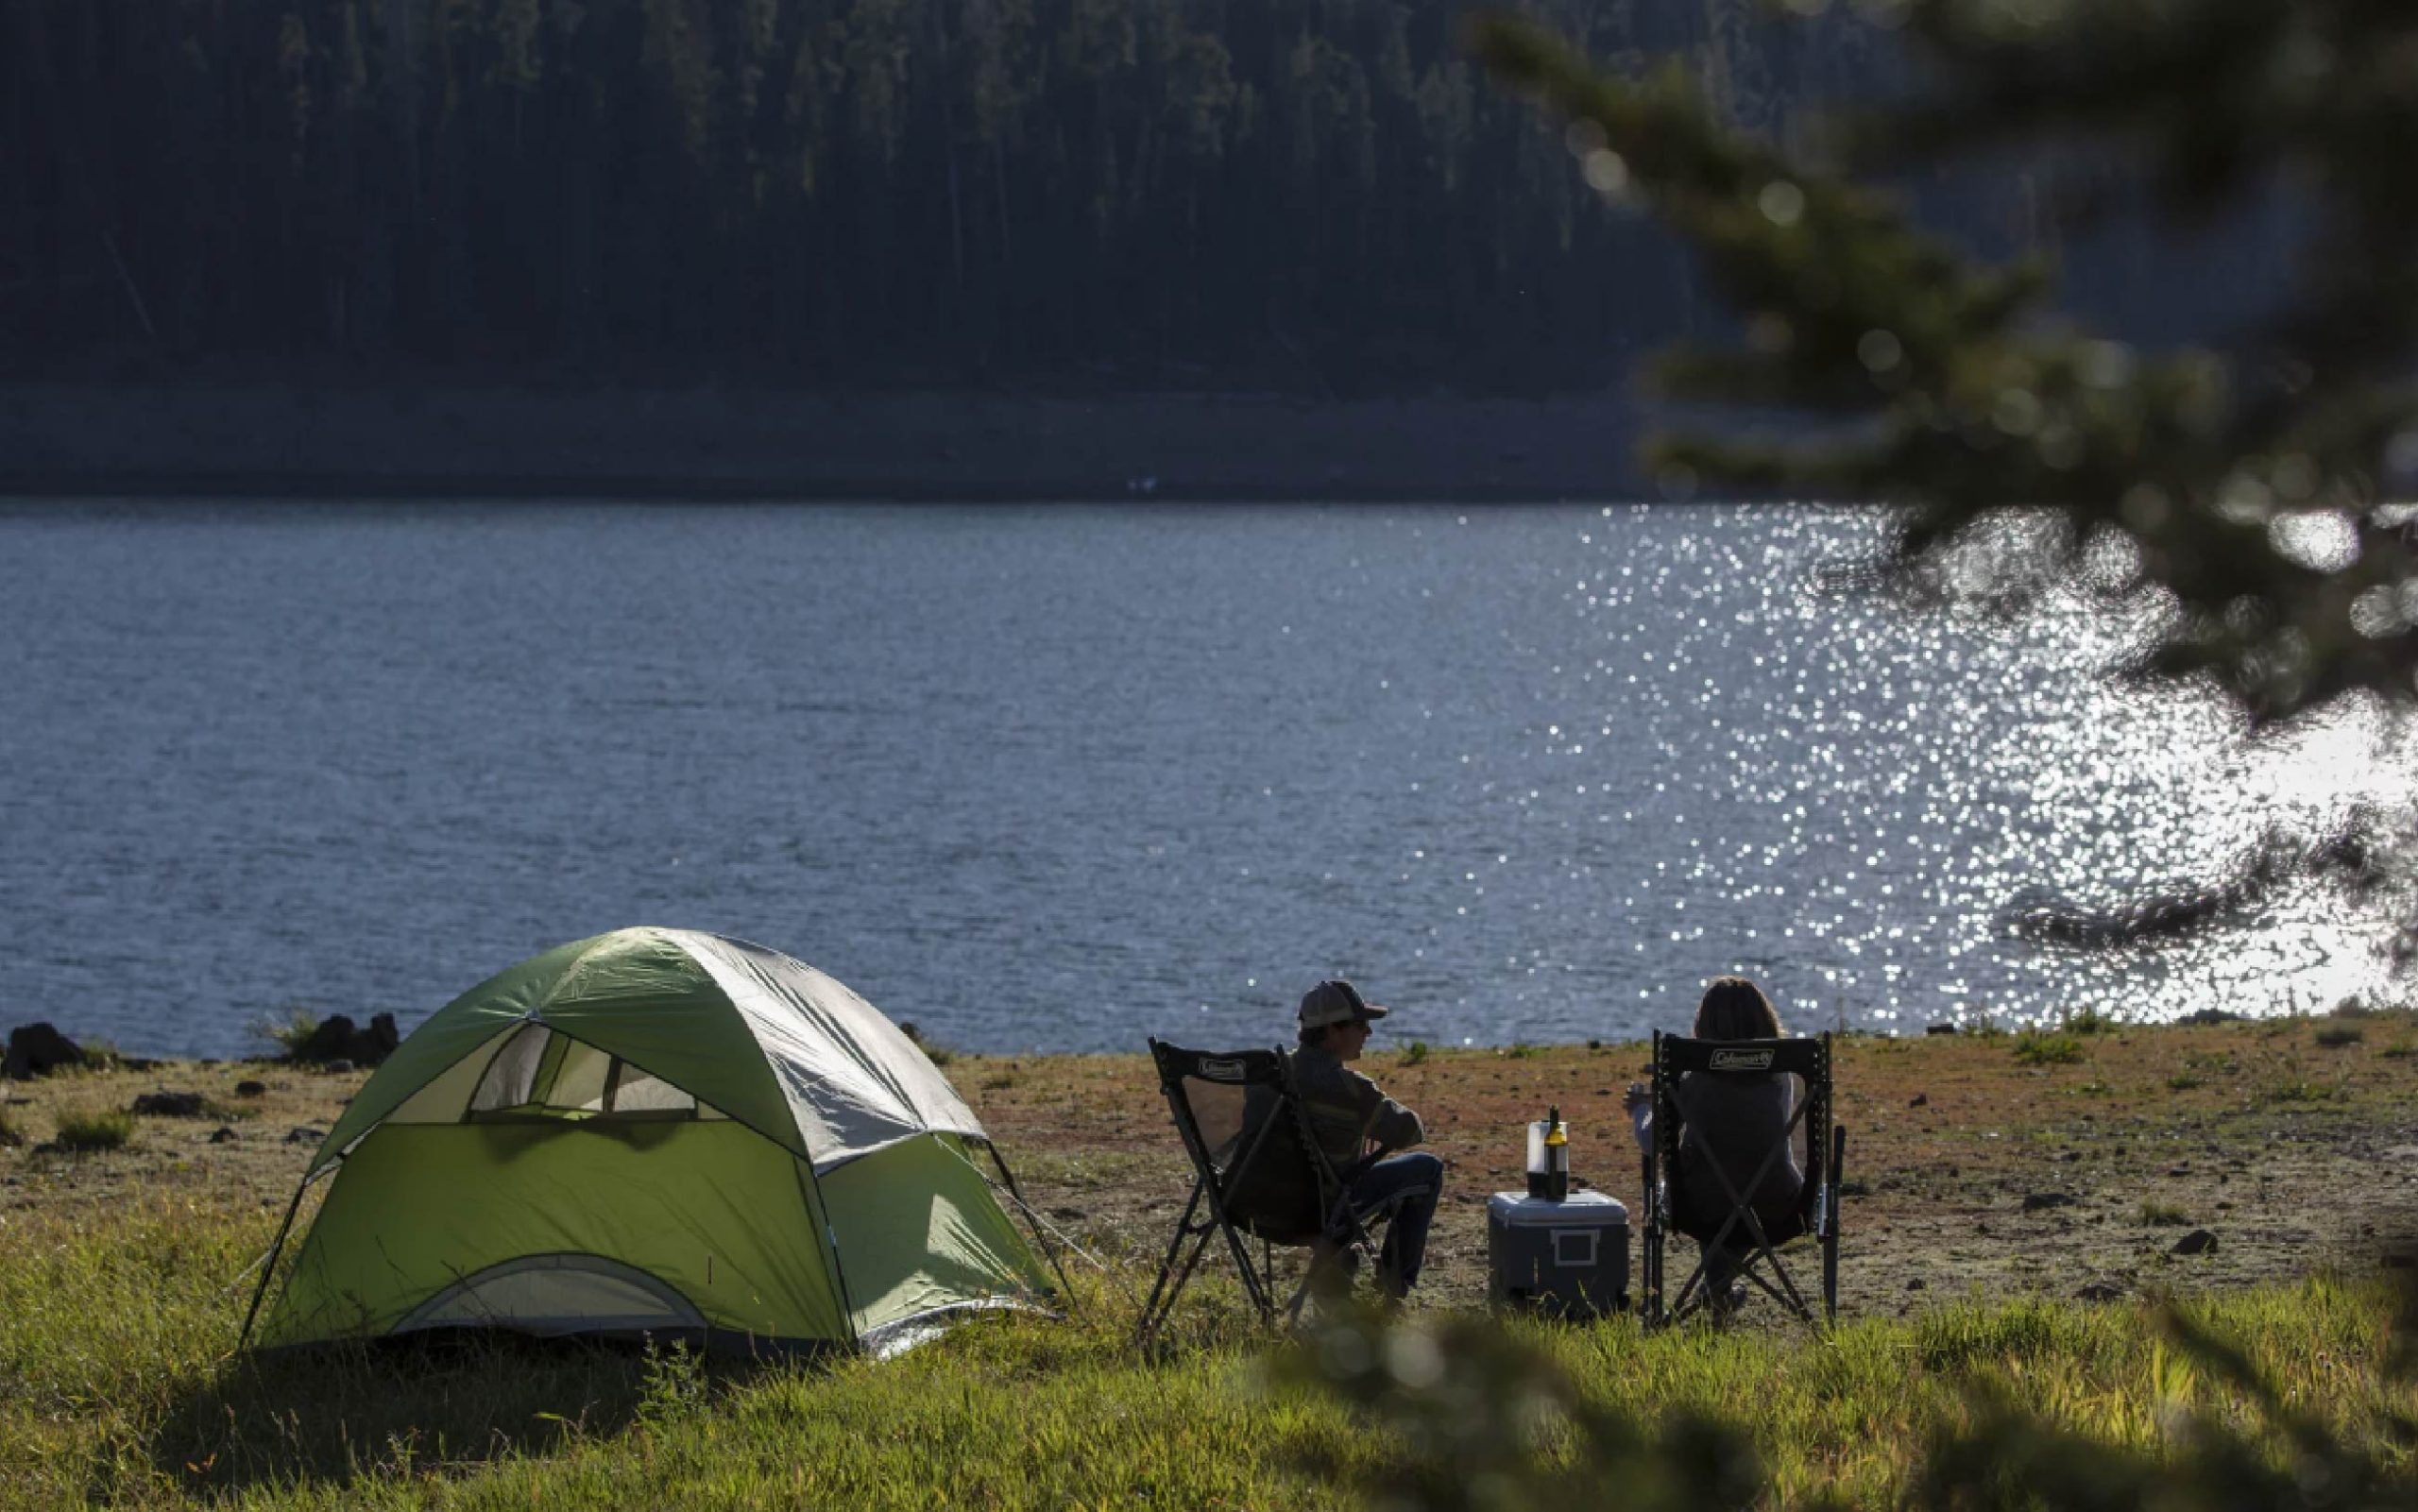
The first step to setting up your Coleman Sundome 4-person tent is to find the perfect spot. Look for a flat, dry area that is free from rocks, debris, and other hazards. You want to ensure that your tent is stable and secure, so avoid slopes or uneven ground.
Step 2: Unpack the Tent
Now that you’ve found a great spot for your Coleman Sundome 4-person tent, it’s time to unpack it. Lay out all the components and take a quick inventory to make sure you have everything you need. You should have a tent body, rainfly, tent poles, stakes, and guylines included. It’s always a good idea to double-check to ensure that you have all the pieces before starting the setup process.
Pro tip: Lay out the components in a logical order to make the setup process easier. This will help you stay organized and prevent any confusion.
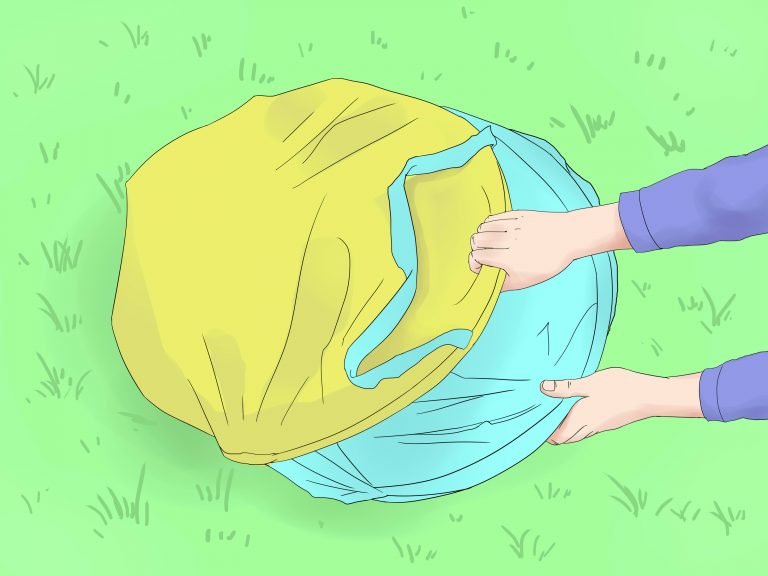
Step 3: Lay Out the Tent Body
The next step in setting up your Coleman Sundome 4-person tent is to lay out the tent body in the spot you’ve chosen. Make sure that the door is facing the direction you want it to be. It’s also a good idea to orient the tent perpendicular to the prevailing wind. This will improve ventilation and prevent the tent from getting too hot or stuffy.
Use rocks or other objects to hold down the corners of the tent body. This will keep it from blowing away in the wind while you’re setting up the tent poles.
Step 4: Insert the Tent Poles
With the tent body in place, it’s time to insert the tent poles. First, assemble the tent poles according to the instructions included with your Coleman Sundome 4-person tent. Then, insert the poles into the pole sleeves on the tent body. Be sure to insert the poles into the correct sleeves and ensure that they are fully inserted and locked into place.
Step 5: Raise the Tent
Now that the tent poles are in place, it’s time to raise your Coleman Sundome 4-person tent. If you have a partner, this step will be much easier, but it can also be done solo with a bit of practice. Start by standing the tent upright and then extend the poles to their full length. Once the poles are fully extended, clip the tent body onto the poles at the corners and midpoint. Make sure that the tent body is evenly stretched and that the poles are straight.
Step 6: Attach the Rainfly
Drape the rainfly over the tent body and align the corners and edges. Make sure that the rainfly covers the entire tent body and that it’s pulled taut. Next, use the attachment points on the rainfly to secure it to the poles and stakes. Make sure that the attachment points on the rainfly are properly aligned with the poles and stakes. This will ensure that the rainfly is securely attached and won’t come loose in high winds or heavy rain.
Step 7: Secure the Tent with Stakes and Guylines
Now that the tent and rainfly are in place, it’s important to secure the tent to the ground with stakes and guylines. This will help to prevent your Coleman Sundome 4-person tent from shifting or toppling over in windy conditions.
To begin, insert the stakes into the ground at the corners and midpoint of the tent. Make sure that the stakes are driven into the ground at a 45-degree angle, pointing away from the tent. This will help to anchor the stakes securely in place.
Next, attach the guylines to the tent body and stake them into the ground at an angle, away from the tent. This will provide additional stability and prevent the tent from swaying or wobbling in high winds. You can even read our detailed guide on how to use tent stakes
Step 8: Test the Tent
After setting up your tent, it’s always a good idea to give it a quick test before settling in for the night. Double-check that all the poles, stakes, and guylines are secure and that the tent is stable. Take a few moments to inspect the zippers, doors, and windows, ensuring that they open and close smoothly.
Check for any rips, tears, or holes in the tent body or rainfly that may need to be patched or repaired. Once you’ve verified that everything is in good condition, you’re all set to start enjoying your Coleman Sundome 4-person tent.
Tips for Setting Up Your Coleman Sundome 4-Person Tent
- Before your trip, practice putting up your tent. This can help you in becoming acquainted with the procedure and ensure that you have all of the required components.
- Choose a spot that is protected from the elements, such as wind and rain. This will make your camping trip more comfortable and pleasant.
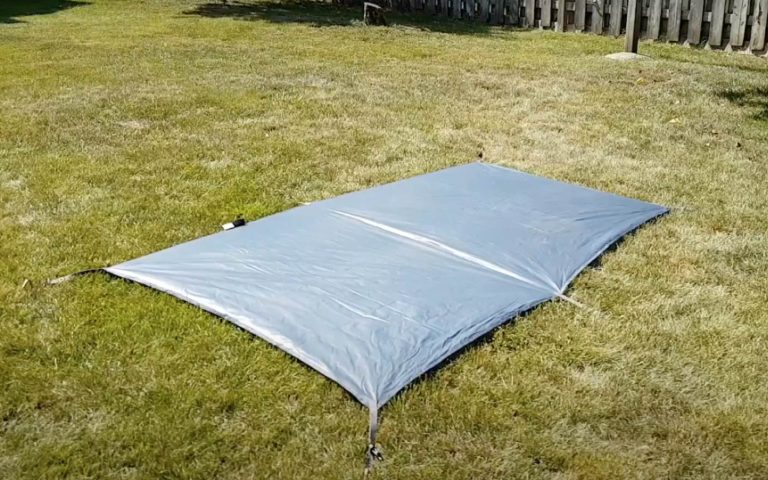
- Under your tent, place a ground cloth or sheet to protect it from pebbles and other sharp items that might penetrate the floor.
- Open windows and doors and use the vents in the rainfly to ensure that your tent is well-ventilated.
- Think about getting additional anchors and guylines if you’re camping in a very windy region.
- When putting up and taking down your tent, always follow the manufacturer’s instructions.
Conclusion
Setting up your Coleman Sundome 4-person tent is a breeze and can be done in just a few minutes. By following the steps we’ve outlined here and taking the necessary precautions, you can rest assured that your tent is set up correctly and ready for a comfortable and enjoyable camping experience. Make sure to give it a practice run before your trip, and always follow the manufacturer’s instructions for the best results. Happy camping!

Meet Sarah, a passionate traveler and camping enthusiast who loves to explore the great outdoors. With years of exploring, she has become an expert in testing and reviewing the best tents on the market which got her to start mytravelingtents.com. Her insightful reviews provide valuable information to fellow adventurers looking for the perfect tent for their next camping trip.