How to Make Percolator Coffee While Camping: A Detailed Guide
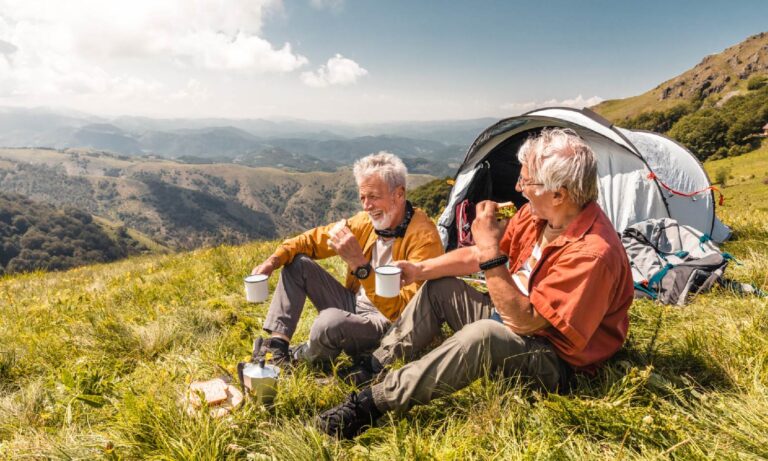
There is something special about waking up to the crisp morning air, surrounded by nature, and enjoying a steaming cup of coffee while camping. In this article, we will guide you through the process of how to make percolator coffee while camping, ensuring you start your day with a delicious and satisfying cup of joe.
While there are many brewing methods that people use, making percolator coffee is a classic technique that brings a touch of nostalgia to your camping experience. Percolator coffee has also been a favorite method among outdoor enthusiasts due to its convenience and rich flavor.

How to Make Percolator Coffee While Camping: Choosing the Right Percolator
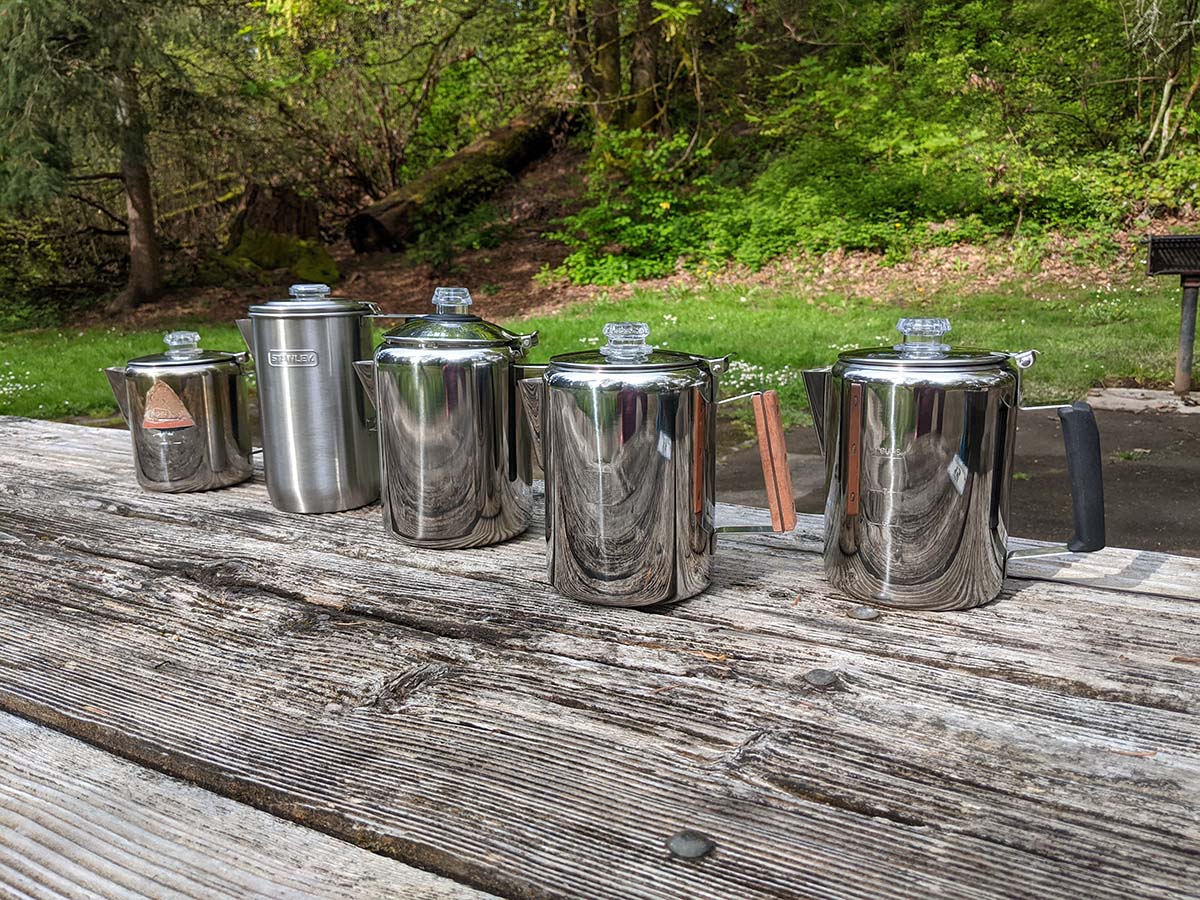
To begin your coffee brewing journey, it is essential to select the right percolator for your camping needs. But, the percolator’s components could be slightly challenging to use at first if you have never used one before.
To sum it up, the percolator is made up of a pot and a cylindrical tube that extends from the bottom to the upper part of the device and has a stand attached to it. The perforated compartment with a lid is a basket that is resting on the tube. The pot contains the basket and the tube. Splashing will occur inside the tube as the boiling liquid rises through it. Make sure it also has a tight-fitting lid and a clear glass knob to monitor the brewing process. Once you understand the components, brewing the coffee is rather simple.
There are different types of percolators. Stainless steel percolators are popular due to their sturdiness, while aluminum ones are lightweight and ideal for backpacking adventures.
Selecting the Coffee
Firstly, you must ensure you have the following items:
- Freshly roasted coffee beans or standard ground coffee
- Coffee grinder
- Clean water
The quality of your coffee beans has a big impact on the flavor of your brew. Take extra creamer or perhaps a small amount of milk if you do not prefer having your coffee black. You could also put some flavoring to your coffee. Chocolate syrup is a great option, it could be a bit much to take to camping. In that case, you can consider substituting some cinnamon.
Go for high-quality coffee beans as well if they suit your taste preferences. Consider grinding the beans to a medium-coarse consistency, which works best for percolation.
Preparing the Percolator
Before brewing, make sure your percolator is clean and assembled. Rinse it thoroughly with hot water and ensure all parts are in place. Remember to use fresh, cold water for brewing, as it helps extract the best flavors from the coffee beans.
Brewing Process of the Percolator Coffee
1. Add water – Fill the percolator’s base with cold water. Do not overfill or else you will land in a very messy situation. The percolator usually includes an interior “fill line” that acts as a helpful guideline.
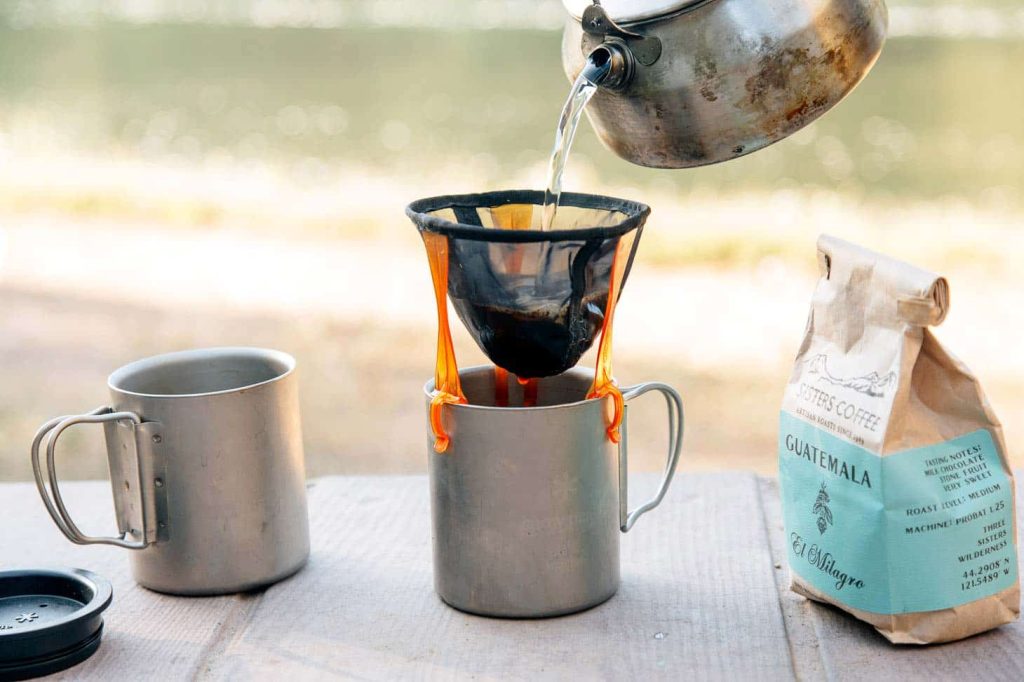
2. Insert coffee grounds – You need to get filters to match your basket if you plan to use standard ground coffee. However, you could skip using a filter if you buy freshly ground coffee. Place the coffee basket or chamber inside the percolator and add the desired amount of coffee grounds. Follow the recommended ratio of water to coffee to get a balanced brew.
3. Assemble and heat – Attach the top of the percolator securely and place it over a heat source, such as a campfire or camping stove. If you are brewing above a fire, it could take some time, but it is crucial to keep an eye on it. Try to maintain the flame at a medium intensity.
4. Percolate – It will begin to boil after a short period of time. When that begins to occur, lower the flame. Allow it to simmer for an additional 10 to 15 minutes. Keep an eye on the percolator’s window to monitor the brewing progress.
5. Timing: Adjusting the heat whenever is necessary. Remember that longer percolation can result in a stronger brew.
Achieving the Perfect Flavor
To extract the best flavors from your coffee, pay attention to a few key factors:
– Heat control: Avoid overheating the coffee, which can lead to over-extraction and a bitter taste. Adjust the heat source to maintain a steady brewing temperature.
– Monitoring: Keep an eye on the percolation process, ensuring it doesn’t reach a rapid boil. This helps prevent bitterness.
Serving and Enjoying
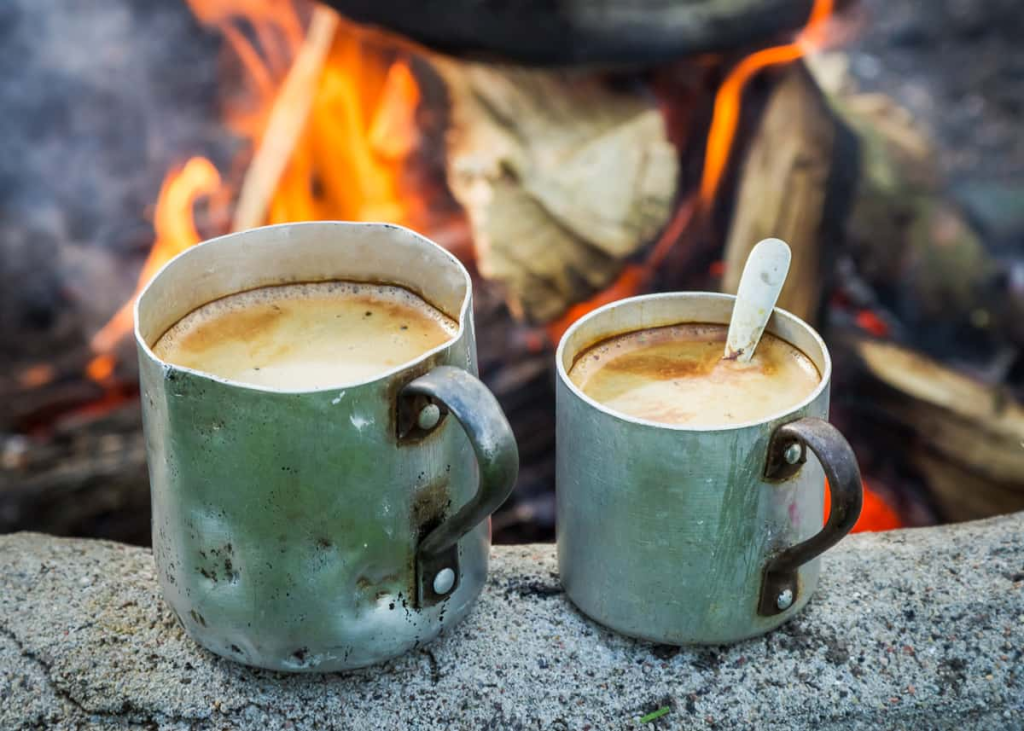
Once your percolator coffee is ready, carefully remove it from the heat. Give it a gentle stir to ensure an even distribution of flavors. The coffee grounds will settle to the bottom of the pot, allowing you to get a smooth cup of coffee. Pour the coffee into cups or mugs and serve it piping hot. And, of course, customize your brew with additions such as milk, sugar, or your preferred flavors.
How do you know when your camping Percolator coffee is done?
Detecting the right moment for percolator coffee completion involves observing and listening for the rhythmic percolating sound, which signifies the extraction process. The coffee’s color is also a useful indicator – lighter shades for milder coffee and darker shades for a stronger brew. Personal preference guides the timing, with regular tasting to avoid bitterness.
Percolator Vs French Press Coffee
When it comes to brewing coffee outdoors, the percolator and French press are two popular methods with distinct approaches. The percolator cycles hot water through coffee grounds, yielding a robust brew, while the French press involves steeping coarsely ground coffee for a full-bodied cup. The percolator offers nostalgia and larger batches, while the French press provides simplicity and easy cleanup. Your choice depends on flavor preference and convenience during camping.
Cleaning and Maintaining your Camping Percolator
Proper cleaning and maintenance of your camping percolator are essential to ensure that you continue to brew flavorful and aromatic coffee during your outdoor adventures.
- After each use, make sure to disassemble the percolator and empty any leftover coffee grounds.
- Rinse all the components with hot water, using a gentle brush or cloth to remove any residue. If stubborn stains persist, you can create a mixture of baking soda and water to scrub the interior.
- Remember to thoroughly rinse the percolator to avoid any lingering baking soda taste. Additionally, ensure that the percolator’s basket, tube, and other parts are free from coffee particles.
- Before storing, allow all components to air dry completely to prevent mold growth.
To maintain the longevity of your percolator, it’s wise to occasionally check for any signs of wear, such as loose handles or damaged parts, and address them promptly. By following these cleaning and maintenance practices, you’ll guarantee a delightful coffee brewing experience every time you venture into the great outdoors.
Additional Tips
– Weak coffee: Increase the amount of coffee grounds or extend the brewing time slightly.
– Bitter coffee: Reduce the brewing time or adjust the heat to prevent over-extraction. You could also try adding salt to reduce the bitterness.
– Other issues: If you encounter other problems, such as leaks or improper percolation, check for any loose parts and ensure proper assembly.
How to Make Percolator Coffee While Camping: Ending Notes
Brewing percolator coffee while camping is a great way to enjoy a flavorful cup of joe amidst nature’s beauty. By selecting the right percolator, using freshly ground beans, and mastering the brewing technique, you can create a memorable coffee experience that adds more to your outdoor adventures.
So, on your next camping trip, embrace the simplicity and charm of percolator coffee, and start your day with a sip of bliss.

Meet Sarah, a passionate traveler and camping enthusiast who loves to explore the great outdoors. With years of exploring, she has become an expert in testing and reviewing the best tents on the market which got her to start mytravelingtents.com. Her insightful reviews provide valuable information to fellow adventurers looking for the perfect tent for their next camping trip.