How to set up a Camping Tent : A complete step-to-step guide
How does one set up a tent? If you are stressing over going outdoor camping for the first time ever, we have got you covered discussing easy steps to set up a camping tent. Camping is the best way you can get rid of the monotonous, stressful yet essential life chores. Sleeping under the stars can turn out disastrous if you don’t know how to set up a tent. Campers have cursed tents for not turning out to be the way they wanted. Though it’s a strenuous task for beginner campers, a proper guideline and practice can let anyone set up a camping tent in any camping or hiking conditions. This article will let you walk through the important steps you will need to set up a camping tent quickly. Go through this article to find the easiest and fastest steps.
Steps to follow to set up a tent
1. Practice before you leave
Take some time to practice to set up your camping tent before you leave. Camping in the wild or dark can be terrifying when you haven’t left for camping alone ever! Failure to pitch your tent perfectly can let the wild have you for dinner. The foremost essential task is to learn and get familiar with the camping gear. The tent poles, stakes, ground tarp, tent bag, mallet, and peg remover are few things you cannot leave behind. Make sure to create a checklist and pack your camping gear in order. While few tents have simple designs, most of them such as the dome tents can be complex to get done swiftly in the dark. The whole tent setup process is absolutely a no-brainer and what you need to do is practice until you reach the pro level.
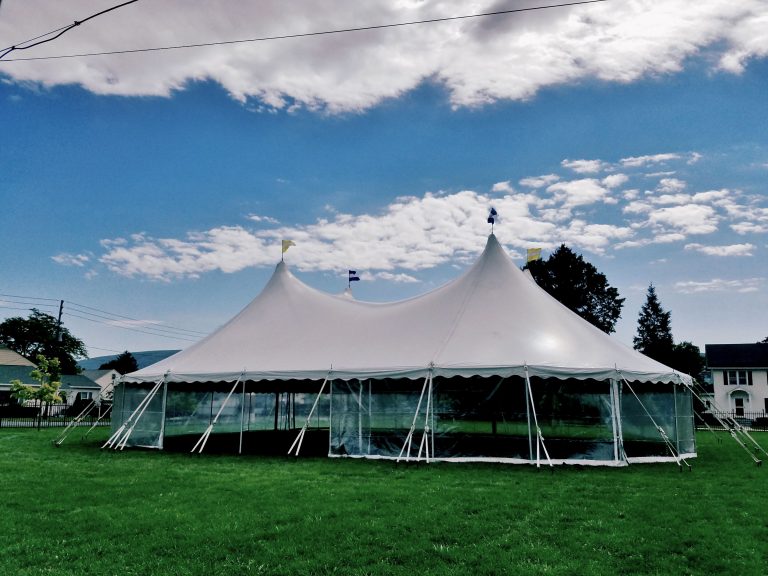
2. Look for a perfect location
Location matters when you are looking to pitch your camping tent. It’s advisable to set up a tent on a higher ground level to avoid depressions, valleys, floods, or washes. Try to go for a flat spot to avoid rolling of a cliff or valley. Don’t forget to clear out the rocks, twigs, or tree roots that might poke you when you are asleep. Set up your tent in a shady place and a spot that has good drainage. This will protect your tent from heating up as well as keep dry in case it starts raining. There are hundreds of resources online to help you find a perfect location while camping.
3. Get your ground tarp out
The next task to set up a tent is to get lay down your ground tarp with the shiny side facing upward. This is one of the most essential pieces of tent camping gear that helps protect the base of your tent. The ground tarp commonly known as foot print tends to absorb moisture from the ground. The tarp prevents it from doing so and secure the lifespan of camping tent. To add more, foot prints levels out the ground to let you sleep peacefully. Make sure you have no excess tarp hanging around as they might create struggles if it rains. It is recommended to fold the tarp and tuck underneath the tent.
4. Unfolding Tent
What you need to do now is lay your tent on top of the footprint after unfolding it. Then, identify the directions you need your doors and windows to be placed on. If you love to watch sunrises, place it towards the east to get a perfect view. Before you head towards the succeeding step, keep stakes or pegs aside you.
5. Assembling Tent Poles
Camping tents come in different designs and characteristics. Most of the tent poles easily fit into one another. It includes color coding, numbers, or stretchy cords to connect the poles. Follow the tent instructions to connect the poles and form a basic structure. Then push the poles through a sheath into the corresponding flaps. Some tents have clips that sticks the poles to the tent.
6. Raise up the tent
The next step is to grab your tent pole and put it into a circle-like shape which is known as a gourmet. You might need additional person to help you do this as it requires coordination. Though some tents will raise on their own, if not, pull the corners to form a square. This will secure the poles end and prevent tangles. Some tents include small hooks to further secure the tent. After raising the tent, hook the plastics on an appropriate poll frame. Don’t forget to attach other structural components.
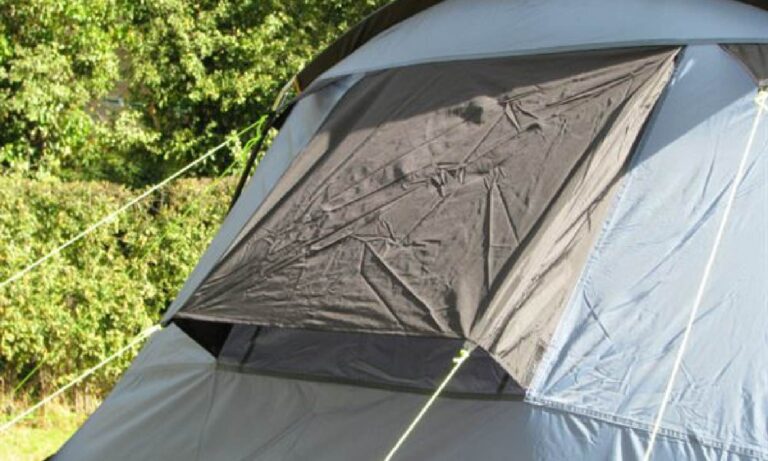
7. Protect from rain
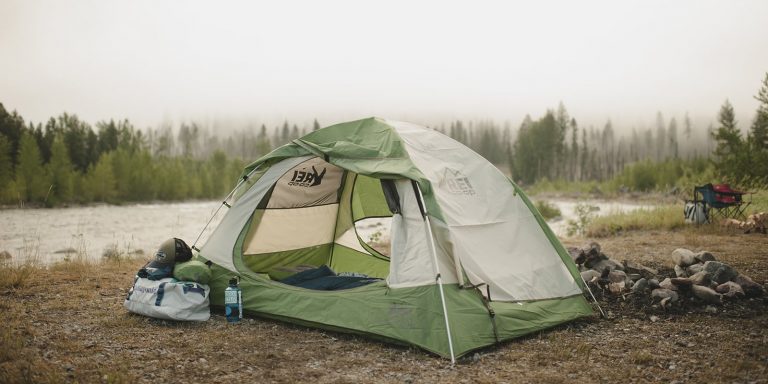
An interesting fact about tents you should know is; they aren’t waterproof. Though there are waterproof tents available, they do not apply to different conditions when camping. That is why tents come with a waterproof protector called a rain fly which protects the entire tent from rain. Place the rain fly on top of the tent and align the tent door with the rain fly’s door. Then put the rain fly grommets underneath the tent poles. The camping tent may come with additional clips to attach the rain fly to the poles.
8. Time to stake
Stake makes sure that when you are moving around in your tent, it doesn’t move around with you. It also secures your tent from blowing away if the camping spot is windy. Put your stake in both loops of the tent body and rain fly at a 45-degree angle inside the ground. You can use a mallet to make sure it’s tight. Do this to all the corners and you are good to go!
Final Verdict
This brings us to an end of the guide of how to set up a tent. Next time you are alone or need to set up your camping tent urgently, this guide will certainly be your staircase to pitch a perfectly comfortable and sturdy tent. A tip for you: Don’t fold your tent in the same way every time. This might weaken the fabric and create holes. Hope you have known the steps to make your camping comfortable. Practicing to setup a tent is what you need to do now.
Watch this video on a step-to step guide on how to set up a camping tent
.

Meet Sarah, a passionate traveler and camping enthusiast who loves to explore the great outdoors. With years of exploring, she has become an expert in testing and reviewing the best tents on the market which got her to start mytravelingtents.com. Her insightful reviews provide valuable information to fellow adventurers looking for the perfect tent for their next camping trip.